Did we destroy our Potager Garden? Now what?
One of the things that was most appealing about this 10 acre property we call home, was all the potential growing space. Space for a large vegetable garden, space for a Cottage garden around the house, a fruit orchard with room for more trees, fields where we could plant acres of Christmas trees. The possibilities seemed endless.
Our budget however, not as endless. Especially after moving into a house where every square inch needed renovating. We threw together a garden as best we could those first few years. I lined beds with recycled bricks, later replacing them with river rock. We reused old irrigation lines from the farm. I covered the paths with wood chips delivered by local tree trimmers. We topped off the beds with free compost from a local landscaper. Put up a simple fence around the perimeter. And hoped for the best! But now, five years in, this cobbled together space just isn’t working for us. And so…I destroyed my garden.
What!? Your beautiful, picturesque Potager garden that you’ve taken so many incredible photos of!? I know, I know. Trust me, I wrestled with this decision for a long time. But I think in the long run, it will be the right move. Let’s dive into the Why first, and then we’ll get to What we’re going to do. Ready? Let’s go!
Problems with my Potager garden
You destroyed this beautiful garden!? I know, I know. It seems drastic. Crazy even. But over the last five years, this space had become more and more difficult to work with, requiring time, money and materials we didn’t have capacity for.
Here’s a few of the issues with the space as it was:
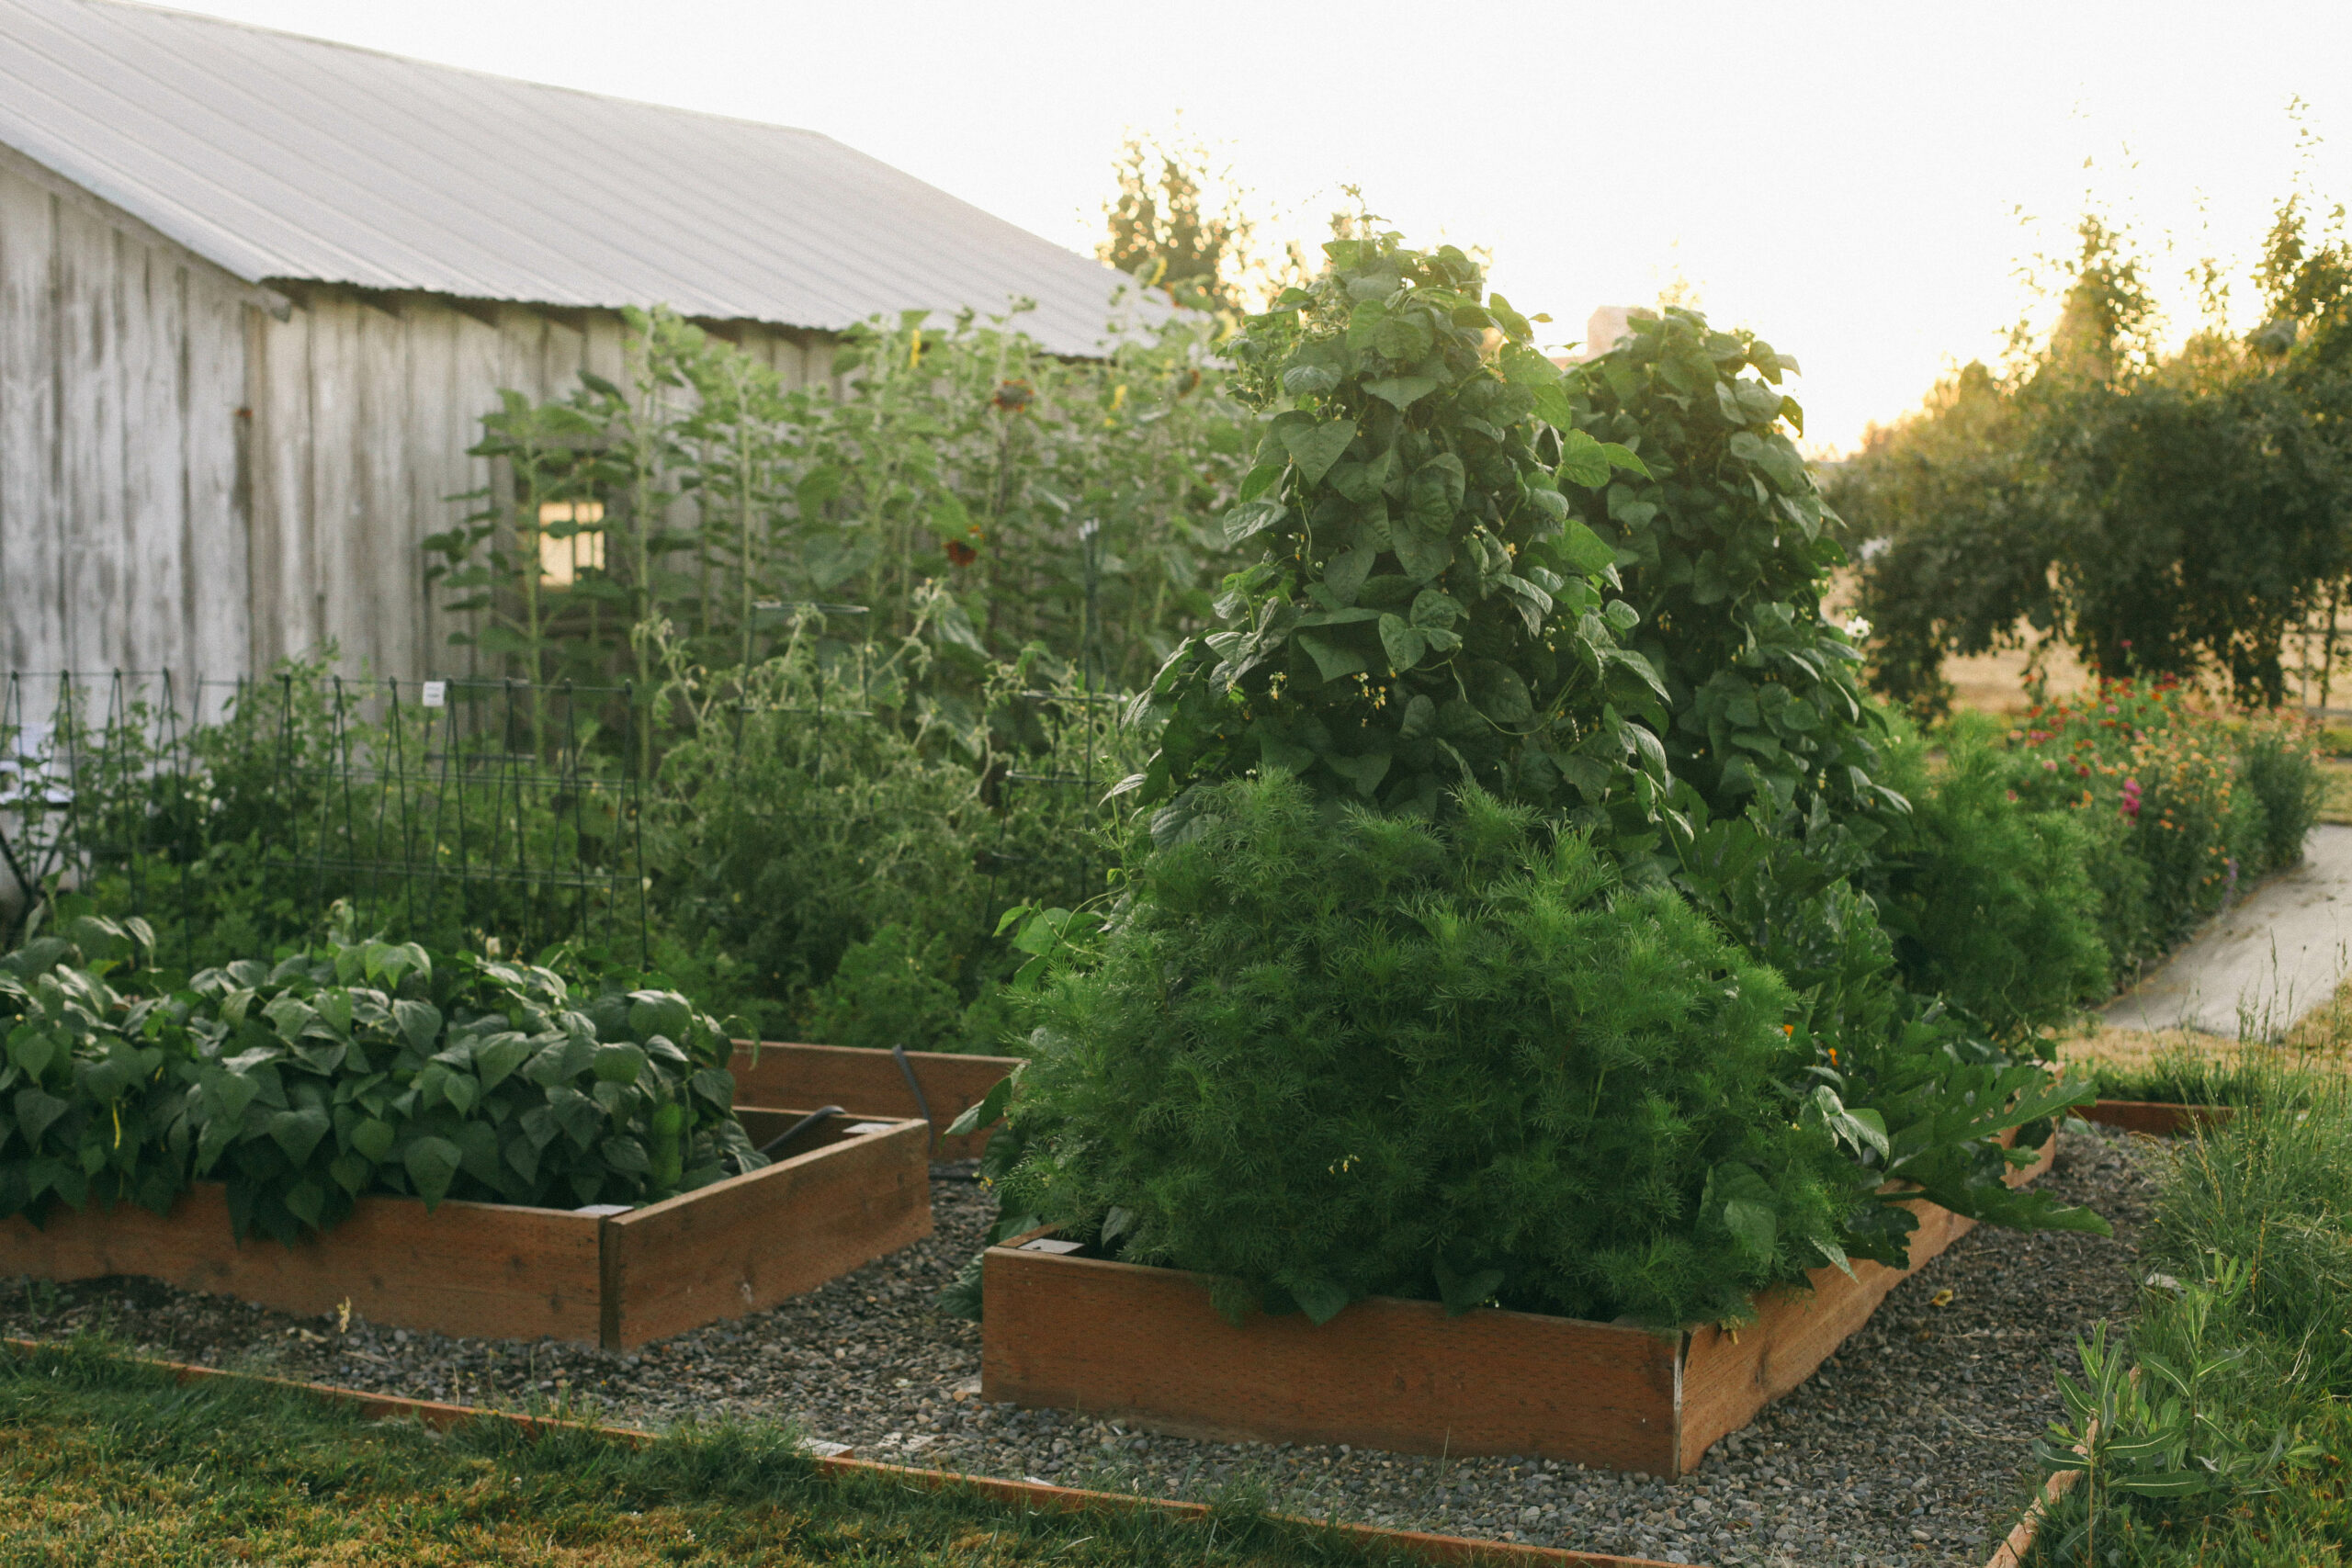
- We made it too large. The 40′ x 100′ space, with 12 separate beds, bordered by wood chip walkways, was just way too much space to keep control of. The weed seeds blew in all year long from the nearby pasture, and at this point, we’re waving the white flag of defeat.
- No room for equipment. My biggest mistake was not laying out the garden in a way that would accommodate a tractor. Especially since we were attempting the No Dig Method, where new layers of compost need to be applied regularly. The paths also needed woodchips. And as much as I tried to brush it off and say I’d just wheelbarrow it all, it was way too much work for one person.
- Too high cost + maintenance. The rocks that we lined our beds with were pricey. The weed fabric and staples weren’t cheap. Despite the fact that we found sources where we could get wood chips and compost for free, it still required my husband making multiple trips with a big truck to get the materials. This had to be done every single year. Inevitably, things wouldn’t get done, and it would hold up our ability to plant in the Spring. I didn’t grow a garden at all last year.
- Weed control. By the time I’d get one, long, 4′ x 20′ bed weeded, the one right next to me would be taken over. Weeds blew in endlessly from the neighboring pasture and quickly popped up in the pathways. It was so overwhelming, I never felt caught up, and eventually gave way to discouragement.


Destroying the Potager garden
So, what then? What is the solution to all these garden woes? Well, for one thing, we’re starting fresh!
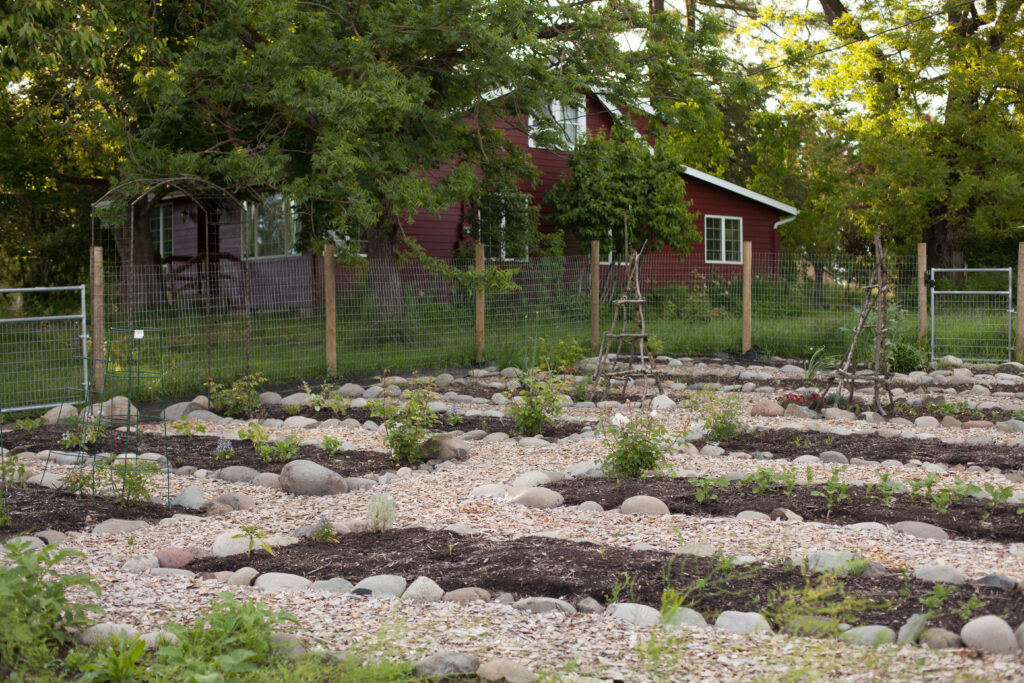
In early October, we began removing the infrastructure of our original garden. We pulled off the metal mesh from the perimeter fence, removed the gates and pulled out the wooden fence posts. The next weekend, we brought over a small tractor from the farm, and slowly pulled out all the rocks that lined the beds. It took all four of us the better part of a day to haul all those rocks, but we got it done, and it felt great!
The boys and I would pry the rocks up out of the ground with a shovel and roll them over into the path, then my husband would drive up with the tractor bucket and we’d load them in. It took many, many trips, and we now have a giant rock pile over by our boys’ playhouse, but at least they’re out of the garden!
The next step was to transplant all my roses out of the Potager, and over to the Cottage garden in front of the house. This was no small feat, as I had seven, 3-year-old David Austin roses planted there. As in, not small roses. I finally got them moved though, and they’re all settled happily in their new home.
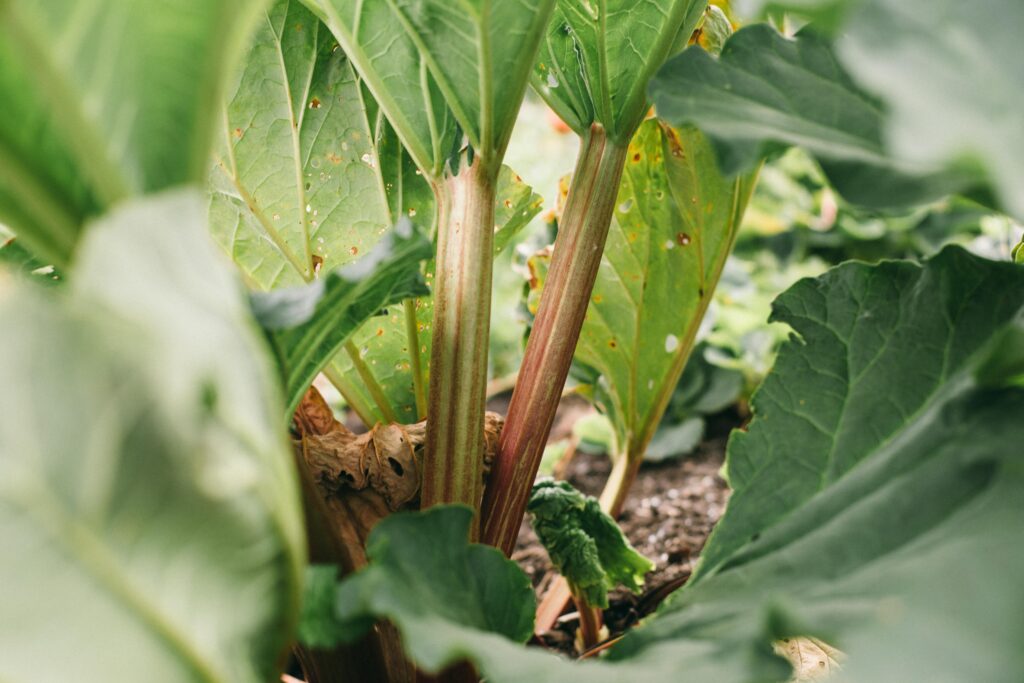
I also transplanted my rhubarb plants, asparagus crowns, currant bushes and a few surviving raspberry bushes, into temporary grow bags until we can find them a new home.


So…what’s left to take care of in the garden?
Well, we’ve still got some cleaning up to do. As much as I would like to have a clean slate just sitting out there, there’s still a few more things to do before we’re ready to start on a new garden layout. Here’s what we’ve got on our plate:
- Remove the weed tarp that’s under the wood chip paths.
- Remove/mow down remaining bushes and/or plants.
- Pull up the silage tarps.
- Transplant the rosemary and strawberry plants.
- Level out the space, filling any holes and flattening any raised areas.
Once we get through the items on this list, we’ll be ready to start on the new garden!


Planning a new, sustainable Potager
Coming off what feels like 5 years of garden failure, I’ve felt pretty intimidated as I’ve tried to figure out what’s next. I mean, I really don’t want to mess this up again. I’ve done a lot of research, watched a lot of homesteading YouTube videos and had a lot of long conversations with my husband. It sounds kind of silly, but having a failed garden has caused me a lot of heartache. I so badly want to get it right this time!
As you can see above, I’ve included some photos of the garden at our previous home. It was a combination of 3, 3′ x 12′ raised beds, and a larger in-ground plot. This was the most successful and maintainable garden I’ve ever had, it worked so well for me (besides the gravel, wouldn’t do that again). This is loosely the same set up are are looking to implement with the new garden.
Goals for our new garden space:
- Ability to use a tractor. We want to plan the new growing space so that it accommodates the use of a tractor for tilling, cultivating, topping with compost, or even harvesting. This means we’ve made the in-ground plot beds roughly the width of our tractor bucket, as well as making the raised beds spread out far enough to fit the mower in between.
- Manageable maintenance. Obviously, all gardens are going to require work, but we’d like to engineer our new growing space to be as low maintenance as possible. This means easy to take care of, easy to water, easy to weed, mow around, harvest from and enjoy! I’m imagining a couple big work days in the Spring to prepare the soil, set up irrigation and get planted, but other than that, I’m hoping it’ll just be regular weeding.
- Low cost and relatively low time commitment (especially from my farmer). My husband works (more than) full-time on the family farm off our homestead, so he just doesn’t have the capacity to put too much into the garden. He can help me get set up in the Spring, but after that, it’s on me. I’m hoping our new system will allow us to do just that. We also don’t want anything that’s going to be a major expense as far as materials. The rasied beds will require some lumber, but it shouldn’t be too bad.
- Changeable. Where the old garden has been and where the new garden will be going isn’t actually my ideal spot, but we aren’t ready to tackle all the things we’d need to do to put it in my ideal spot. So, I don’t want this new garden to feel too permanent. Someday, when we’re ready, I want to be able to pick up and move, and not bat an eye and changing spaces.

Plan for the new Potager
I’ve included photos from the garden at our old house up above, because (at this point) we are shooting for something similar for this new layout here at Bramblewood. We’re thinking 3, 3′ x 12′ wood raised beds, and a larger in-ground plot will do the trick.
Here’s a sketch of what I’m thinking for the in-ground plot area…

I haven’t totally decided if I want to do three 60″ beds, as shown in the sketch, or four, but something is telling me that starting smaller might not be a bad idea. The beauty of this set up is that we can easily add more later. It has been almost 5 years since I’ve had a productive and healthy garden space, and I really want to get back to it. Not take on too much, until I prove to myself that I can handle it.
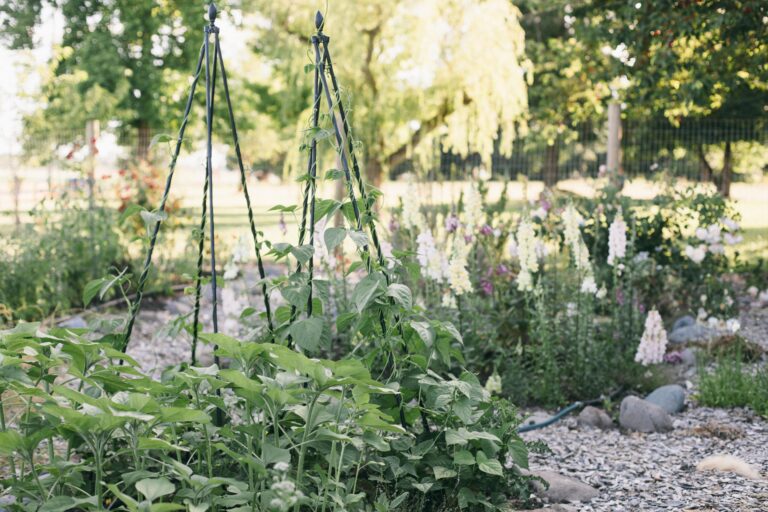
I plan to utilize the Farmer’s Friend 30″ Low Tunnel Wire Hoops to allow for the 60″ beds to be split into two 30″ beds. This will mean that I can plant earlier and extend the season for many of my crops. I am also hoping this will provide bug and bird protection, as I’ve struggled with both in the past.
In this space I am imagining planting all annual crops. Things that will come out at the end of the season. I’d really like to try some succession planting, cover cropping and other methods of soil building, and so I don’t want to have any perennials that need to stay put in this space.
That is also the reason why we are thinking we’ll put in a couple raised beds on the south end of the in-ground plot. Make a home for more permanent plantings and perennials. Here’s what those would look like…
Semi-permanent raised beds

The sketch above shows you the proposed in-ground plot (on the left) and the proposed raised beds to the south. I also added the grape trellis I’d like to run along the existing fenceline. The raised beds would be about 60″ apart, to allow for clean mowing between, and would be surrounded by lawn. I’ve tried covering the space between beds in the past. First with gravel at our last house, and second, with weed fabric and wood chips here. But it never lasts and always ends up overgrown with grass and weeds. I don’t have time to weed paths, so we’re just going to leave it. I can mow grass a lot easier.
The beds will be 3′ x 12′, 12″ deep, made of cedar with strong reinforcement, a large piece of metal mesh attached to the bottom (to prevent rodents), lined with cardboard and filled with compost. I’m hoping we can fill them once and them top them off each year with just an inch or two of compost.
I am not expecting them to last forever, my goal is about 5 years, until we are ready to move the garden and invest in something more permanent.
I’m also hoping to build some hoops so I can cover these beds at times too, either from pvc or conduit.


Where I’ll plant everything in the new garden
Here’s what I’m planning to plant in the in-ground plot:
Flowers:
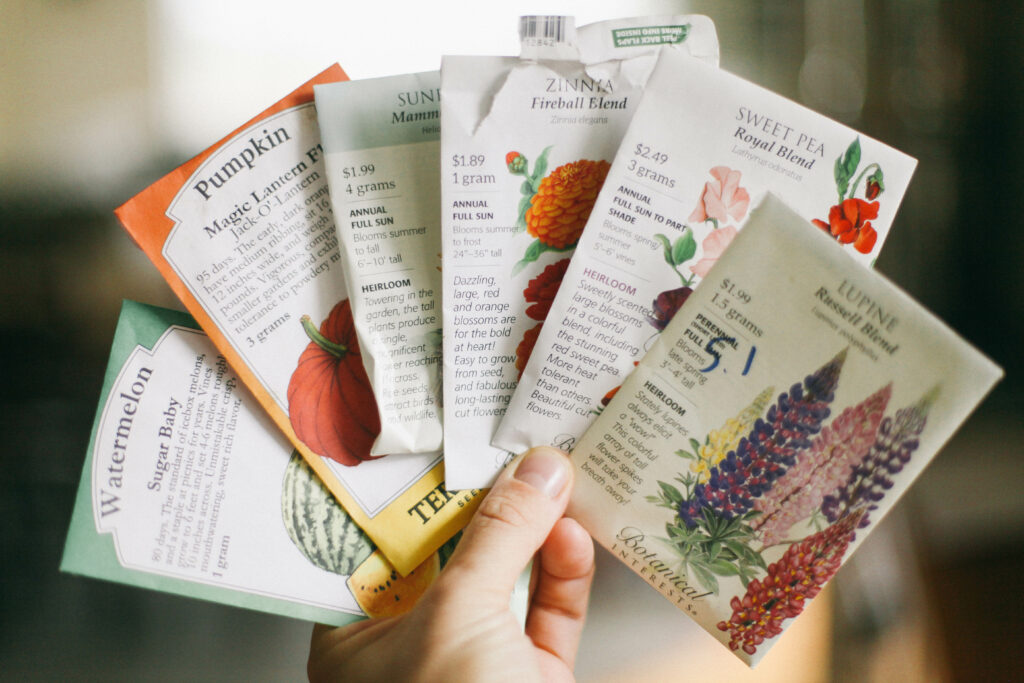
- Sunflowers. I love sunflowers and it nearly killed me not to have them last year. These will go on the far north side of the in-ground plot so they don’t shade anything out.
- Zinnias. I’m totally obsessed with Queen series Zinnias, so I’ll combine all my packets and seed these in the new in-ground garden. Nothing screams summer like a fat row of zinnias!
- Dahlias. I left my tubers in the ground last Winter just to see what would happen, and what happened was the gophers ate them all. It’s a good thing I have good friends in the dahlia business!
- Chamomile. As I heal my gut and nervous system, Chamomile Tea has been a huge help, and I really want to grow and dry my own.
- Calendula. I love the smell of calendula, and would love to try making some salves and balms this year.
- Strawflowers. I always used to grow strawflowers at our old house, and I just love them so much. I’d love to be able to dry enough to make a wreath.
Vegetables
- Tomatoes. I’m hoping to plant the most tomatoes I’ve ever planted this year, as my family lives on homemade salsa and pizza sauce. I cannot wait for that tomato leaf smell come summer!
- Potatoes- Waxy, Russet and Sweet. This will be my first year trying to grow and store a year’s worth of potatoes, so fingers crossed!
- Squash- Winter & Summer. I don’t need a ton of squash, but I like to have a little each season. Zucchini and butternut mostly.
- Green beans. My family could live on green beans. I’d like to grow enough to can AND freeze for the year.
- Celery. I’ve never tried celery before, but I’m tired of buying it. Hoping I can grow quite a bit to stash away in the freezer.
- Tomatillos. I love to make salsa verde as it’s sublime with quesadillas and tucked into Green Chile Enchiladas.
- Peppers- Bell and Jalepeno. These are primarily used in our canned salsa, but I’d actually really love to be able to freeze some for omelettes, fajitas, etc. throughout the year. I’ve never had a giant harvest before, but I’m hopeful!
Raised bed plantings
Bed #1
- Asparagus, Strawberries, Marigolds, Nasturiums, Dill, Cilantro, Parsley and Lettuces. I’ve spent some time researching companion planting, and I’m hoping these combos will be winners. I’m imagining the strawberries can act as a ground cover for the perennial asparagus, keeping out annual weeds. Nasturiums, dill, cilantro, parsley and lettuces will fill in the edges.
Bed #2
- Thyme, Carrots, Onions, Rosemary and Lettuces. I’ve read that onions and thyme can deter carrot flies, so I’m really hoping that’s true. I’m hoping we can get a great crop of carrots and onions from this bed.
Bed #3
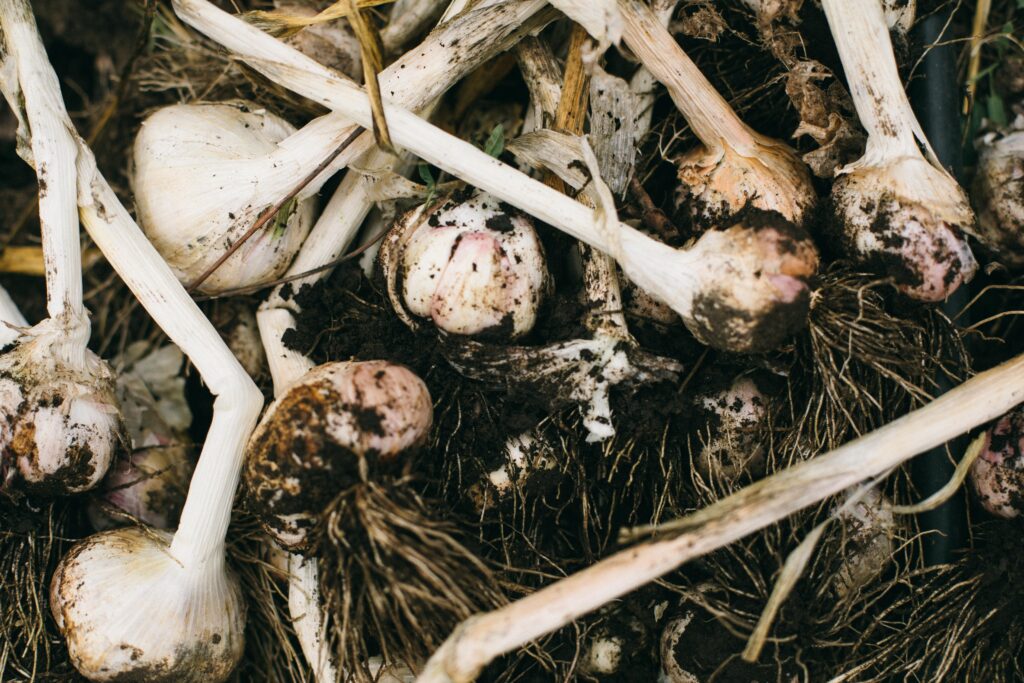
- Rhubarb, Raspberries, Currants, Garlic, Chives, Sage and Yarrow. Rhubarb on the ends, raspberries down the middle, interplanted with currants, garlic, chives, sage and yarrow. This will be a colorful and tasty bed!
Barrel
- Mint. Despite knowing better, I planted mint in my previous Potager garden and it promptly invaded 3 beds. It will now be banished to a barrel.

What do you think?
Well…what do you think!? Are we crazy!? Maybe a little.
Leave a comment below and share how you designed your garden space OR tell me the story of how you’ve scrapped your old space and started from scratch.
Pin this image below to share these ideas with others, and maybe give them a little comfort about destroying their garden and beginning again.


Hi, I'm Kali!
Mama, farmer’s wife and the creator of the Potager book + blog. Follow along as we cook and garden the seasons, as well as fix up our little Swedish cottage in Oregon’s Willamette Valley.