Planning a garden can be as simple or as complicated as you want to make it. In the past, I’ve taken a few different approaches. Some years I simply ordered seeds that struck my fancy in the catalog and then planted them wherever the Spirit led. Other years I’ve gotten super intense and planned everything out, down to the very last seed. This year, with a tight budget and the desire to make the very most of the space I have, I’m getting real detailed.
Let’s dive into how I lay things out to maximize growing space, health and most importantly, beauty! Because if it’s not beautiful, it just doesn’t work for me. And note that I said beautiful, NOT perfect. There’s a big difference.
How do I lay out my garden?
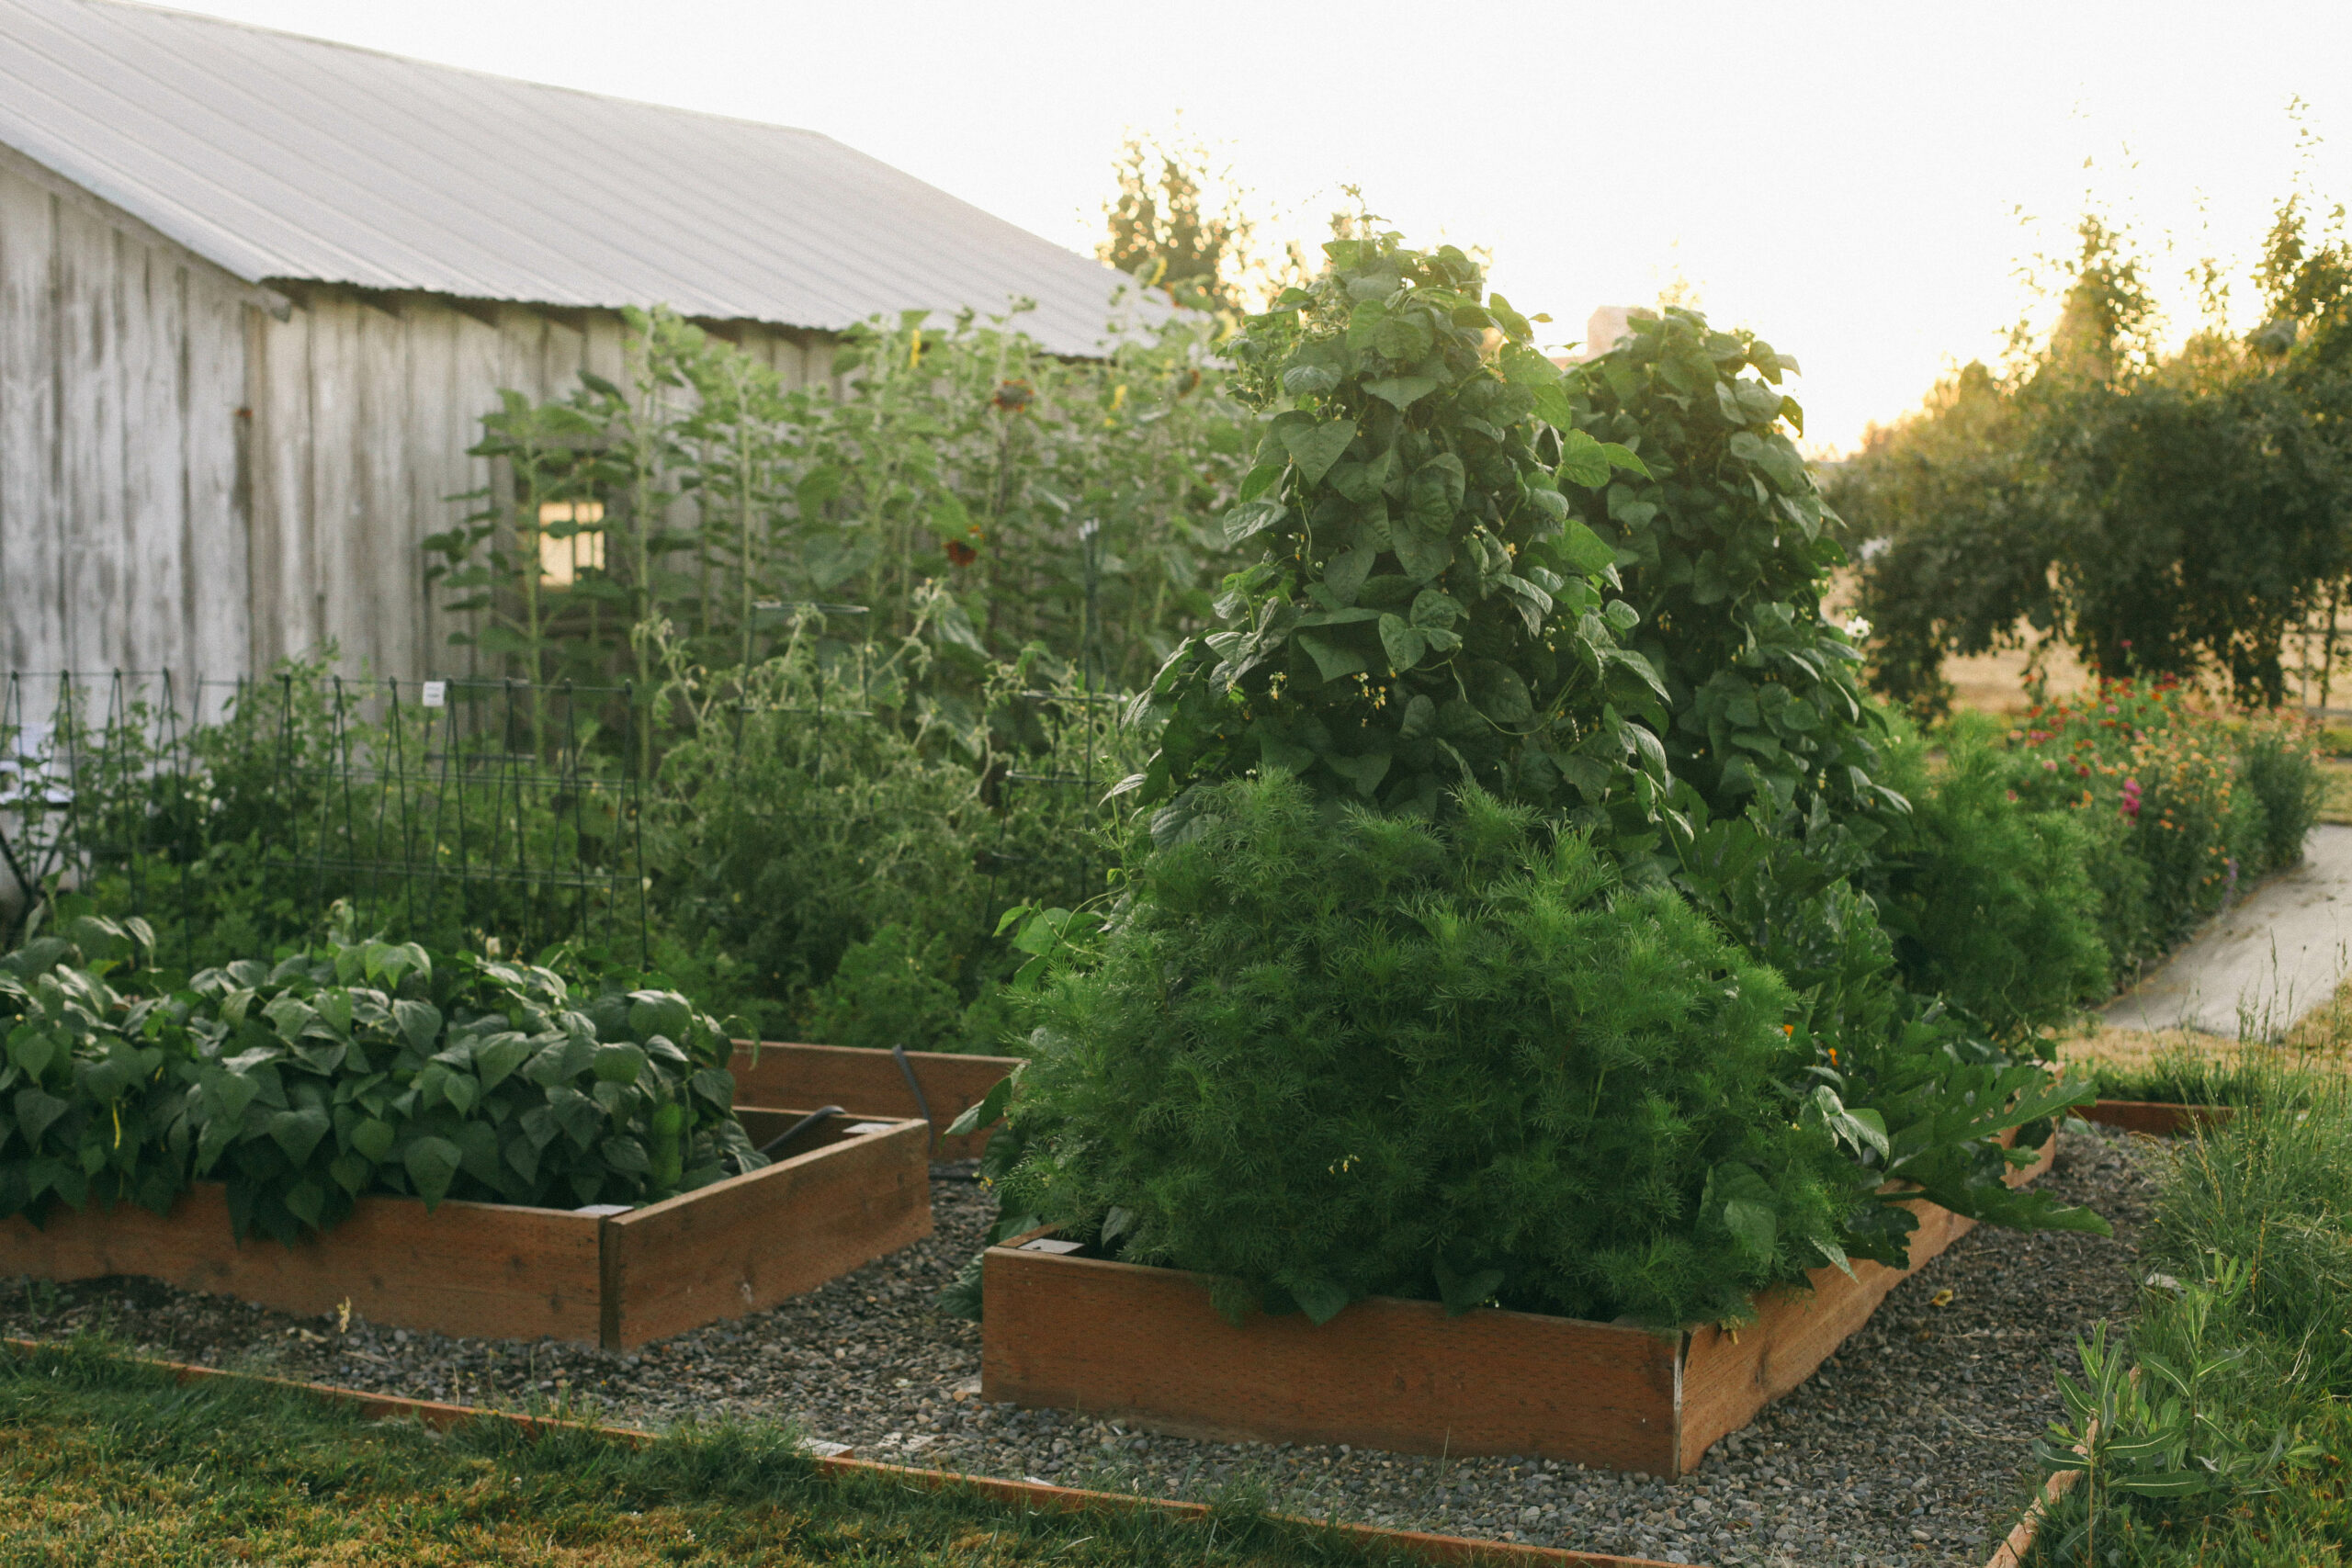
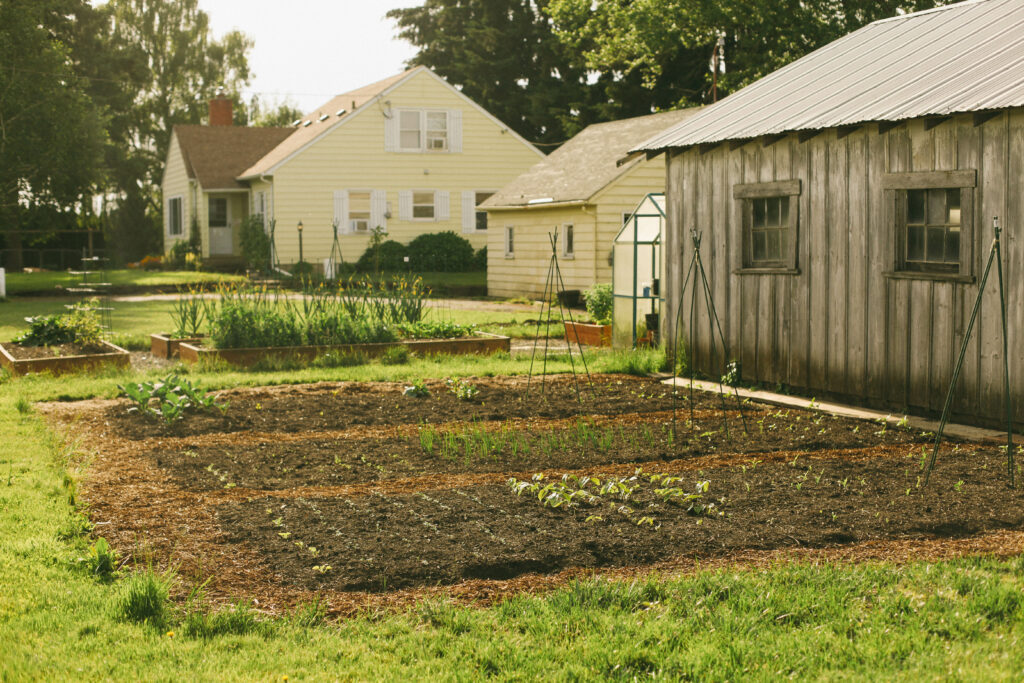
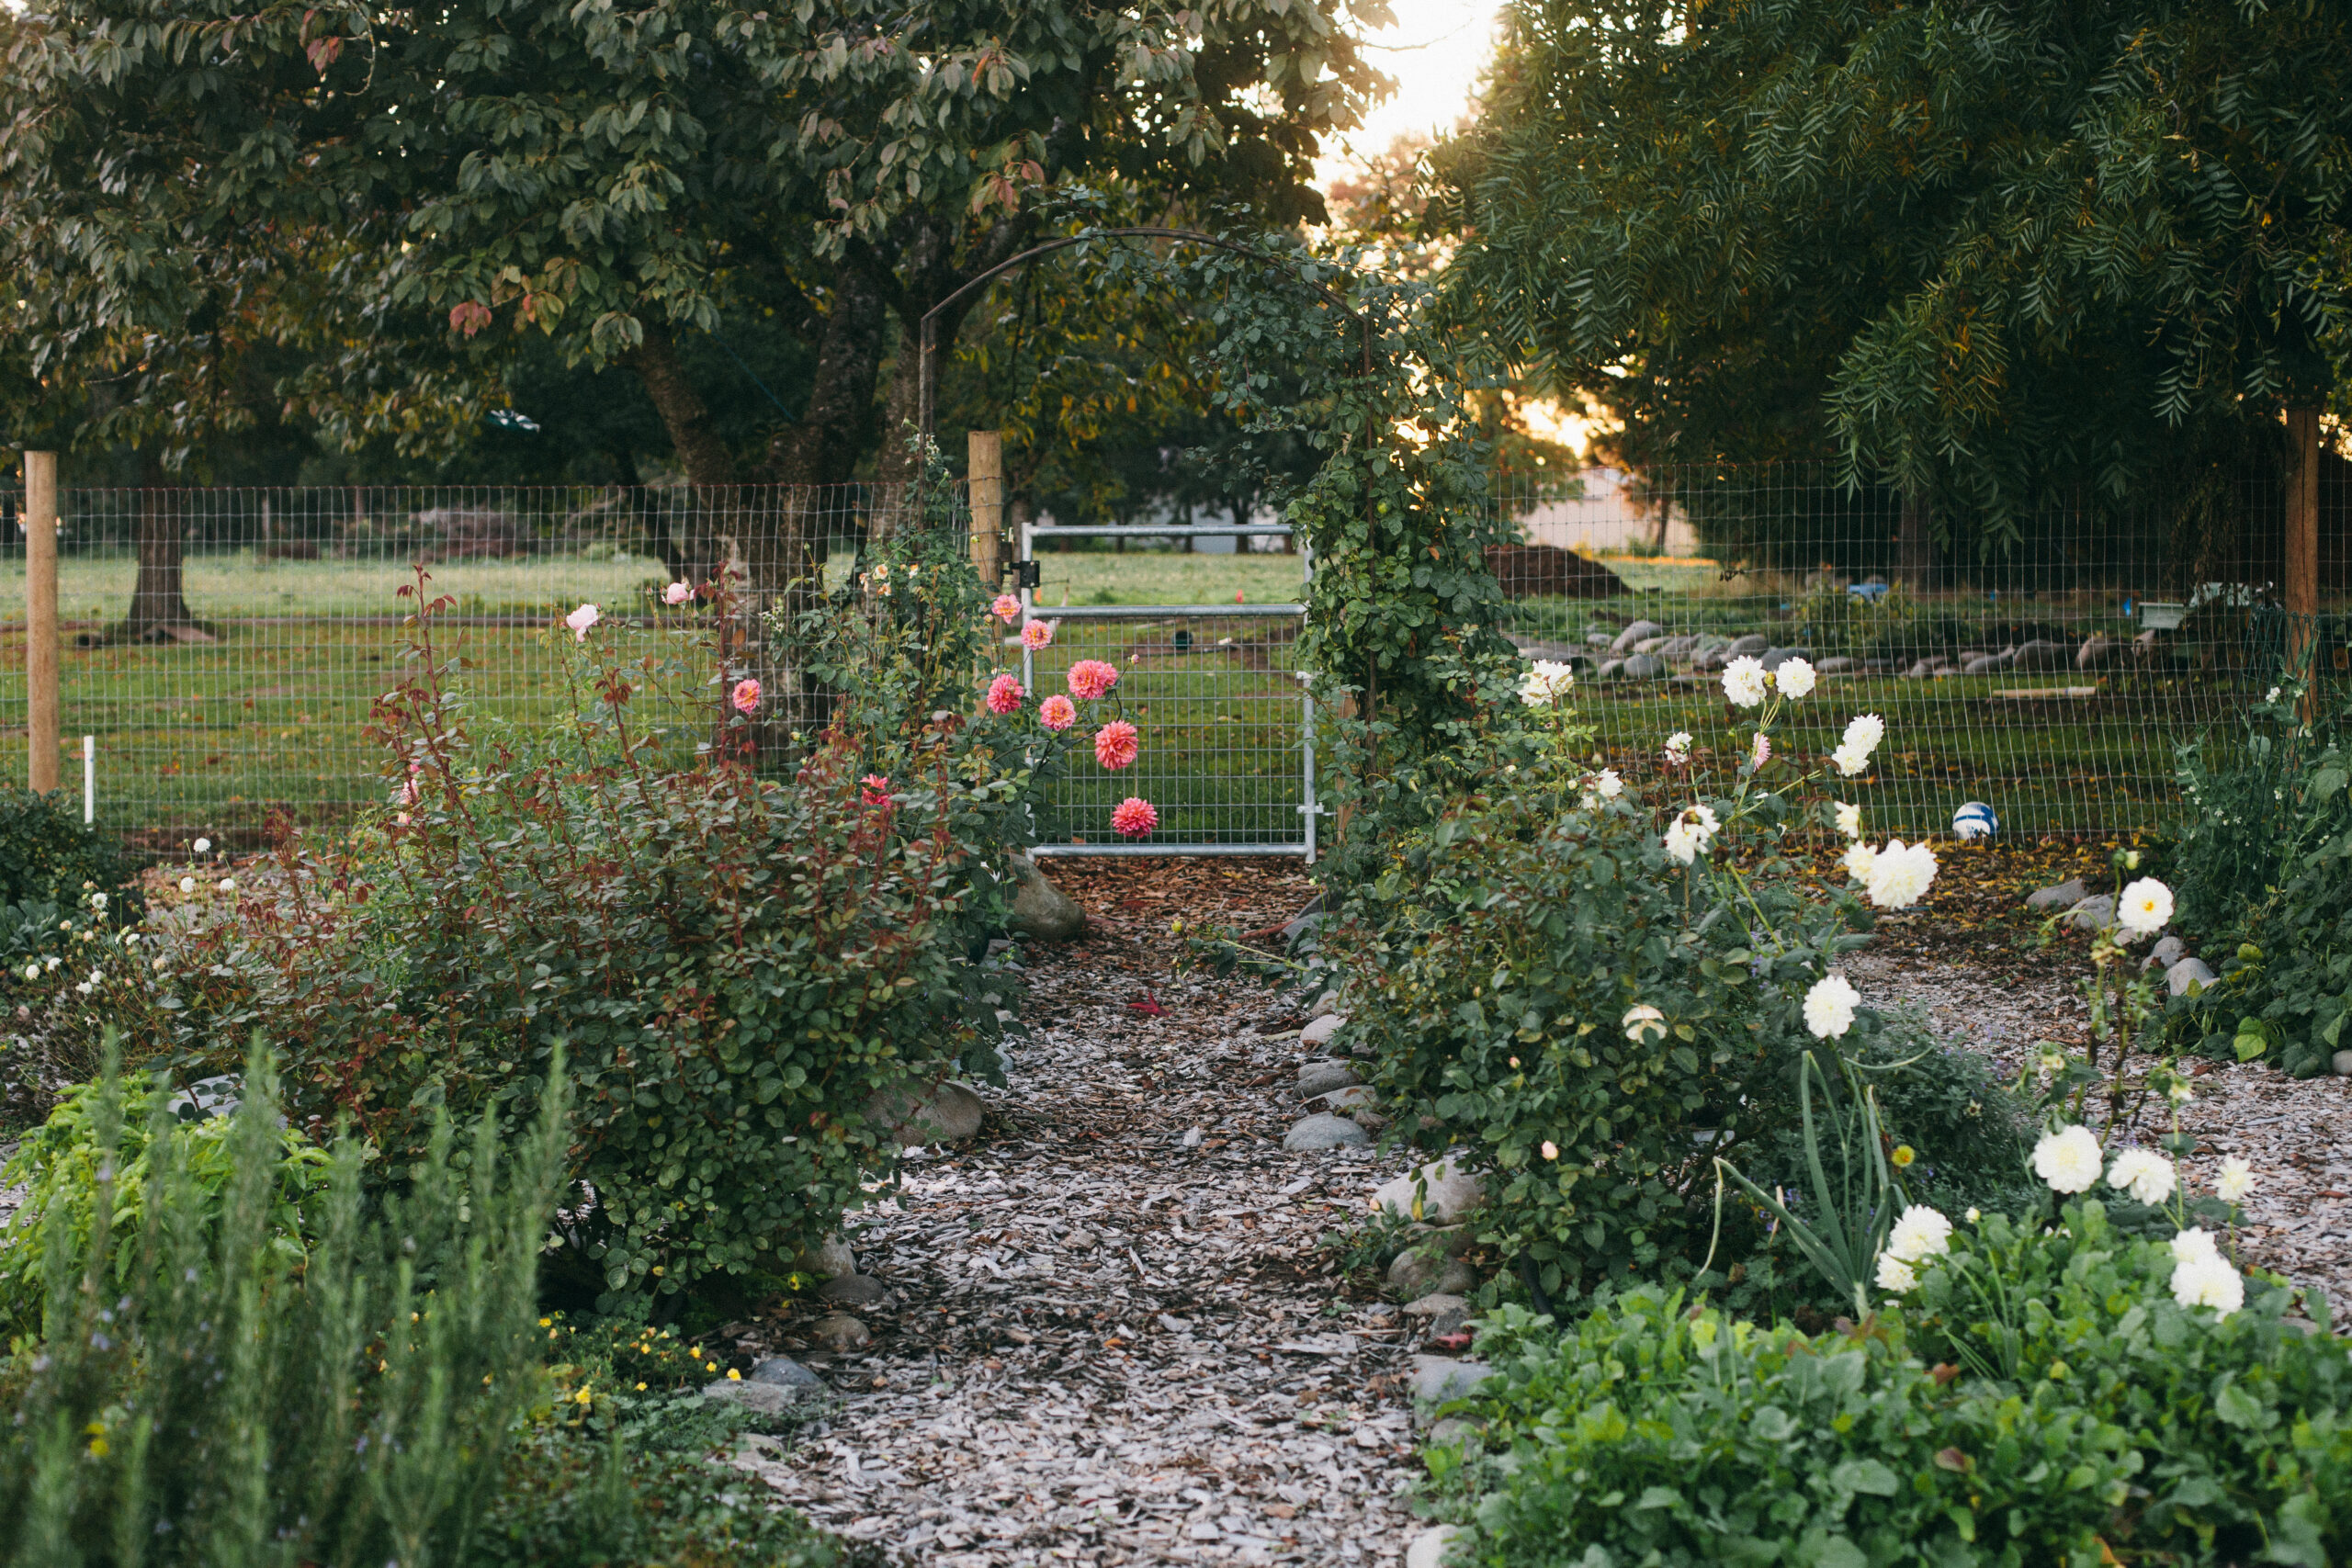
When laying out your growing space, there are a few different methods you can employ. Often, if you have enough space, you can use a few different methods at the same time. At our previous home, which I’ve included photos of in this post, you can see that I combined both raised beds and market garden style beds in the same area.
Here are a few different layouts you can use:
- Open Plot. This isn’t an official name, but I think everyone knows what I mean. This is the most basic form of gardening. You choose a spot, til up whatever was there before and plant right in the existing dirt. This is easy on the front end, but I have found (especially in Oregon, where things grow all year round) it to be a nightmare to keep weed free. In an open plot layout, it is also a little tricky to avoid compacting your soil. You need to walk through or kneel down in the beds to get to your plants, and things end up getting squashed.
This method can be applied with great success in certain applications, however. For example: a big corn plot. A pumpkin patch. Big bed of strawberries or even sunflowers.
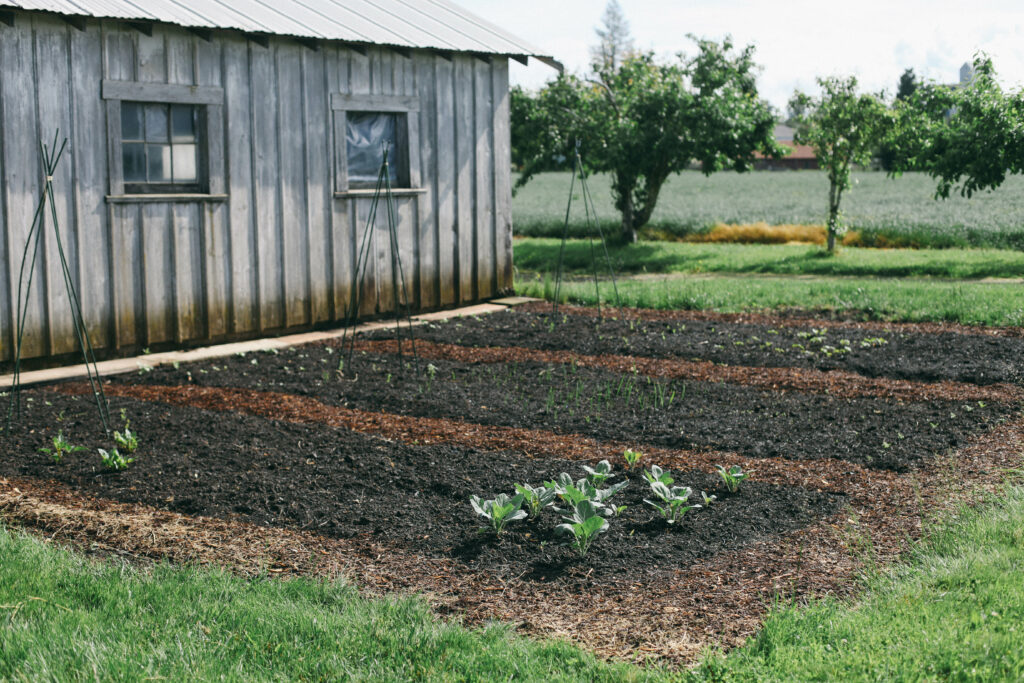
- Market Garden. A common (and simple) way to lay out a garden is to go with what people call the “market garden” approach. This simply means long rows of crops, usually with small walkways in between. Most people mulch between the paths, some people don’t. But the main priority of this layout is maximizing production.
A fellow gardener I really admire, Becky from The Seasonal Homestead, employs this method with great results. She grows almost 95% of her family’s food on their Arkansas property using a market garden! Her YouTube channel is one of my favorites. Our family never misses an episode!
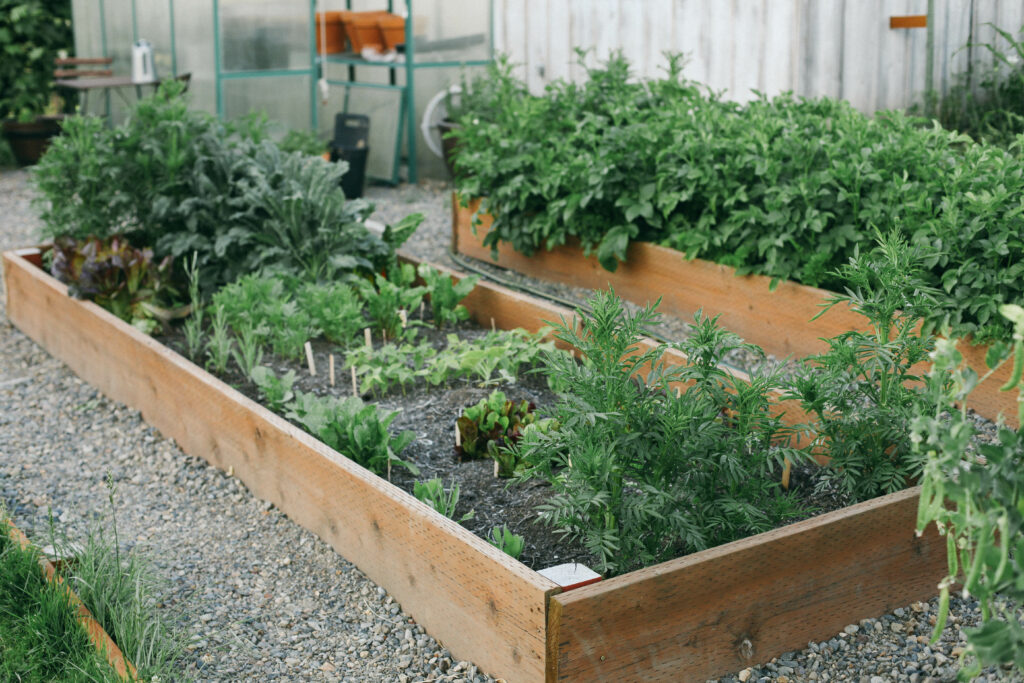
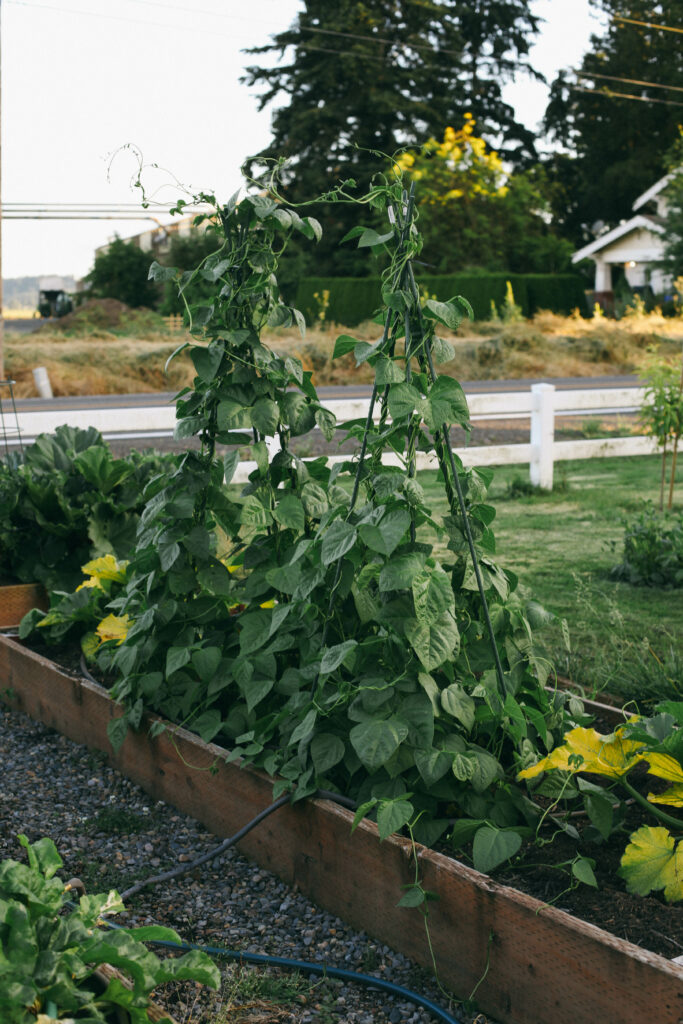
- Raised Bed Garden. Raised beds can be made of wood, metal, stone or prefabricated blocks like keystone. My husband has built wood raised beds at three of our homes. They are a great way to grow things, especially for beginners and especially on a smaller scale. With raised beds you have less weed pressure, they are easy to work in, easy to plant and harvest, and they look clean and tidy (most of the time). They are great for crops which need really good drainage and are fun to play with as far as layout. I grew to love filling them up with as much as I possibly could.
Though I don’t have the budget to put in any raised beds this year, I have long envisioned a large green house surrounded by a bunch of raised beds just north of my existing Potager. There are just things I’d prefer to grow in raised beds.
The downsides of raised beds are: cost, wear and tear and the fact that you need to top them off each year. Not major downsides honestly, especially when you consider the benefits.
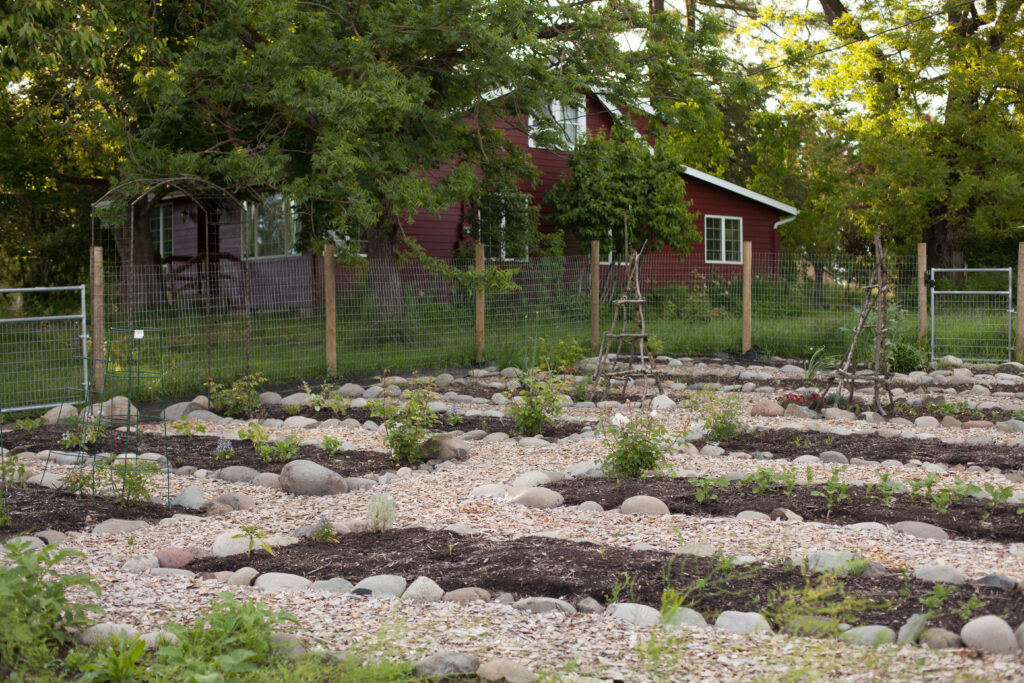
- Potager Garden. A Potager isn’t quite as much about the layout as what’s actually being planted, but my garden- which follows the Potager methodology- is a hybrid between market style and raised beds. I have 10 beds outlined in river rock that, while sitting in the ground, are topped off with new compost every Spring and Fall. They aren’t raised per se, in that they do sit at ground level, but I use a no-till method and top them off each year like you would with raised beds. Between the beds are walkways covered in wood chips which keeps the weeds down, looks beautiful and provides me with space to work where I won’t be compacting the soil in my growing space.
My biggest/only regret with this layout is that I did not leave enough space for a small tractor to get in and dump the compost and wood chips that need to be topped off each year. This makes for a lot of shoveling and wheelbarrowing, which I suppose is probably good for me in the long run. Overall, it’s a pretty great setup.
What’s the best way to organize your garden?
The way I organize my garden changes from year to year, mostly based off what (and how much) I’ve decided to grow. And I’m talking organization as in, what actually gets planted where. Here are a few factors that influence the way I organize what’s actually being grown:
- Quantity. This year I’m really narrowing things down to the foods we actually eat. Which means lots of potatoes, onions and tomatoes (for canning). For all these crops I need space, so a large amount of my bigger beds will be devoted to them. 50 row feet of potatoes to feed my family for the year will require the use of one of the largest beds, for example. It might make for slightly less aesthetic beds, but I think it’ll be worth it.
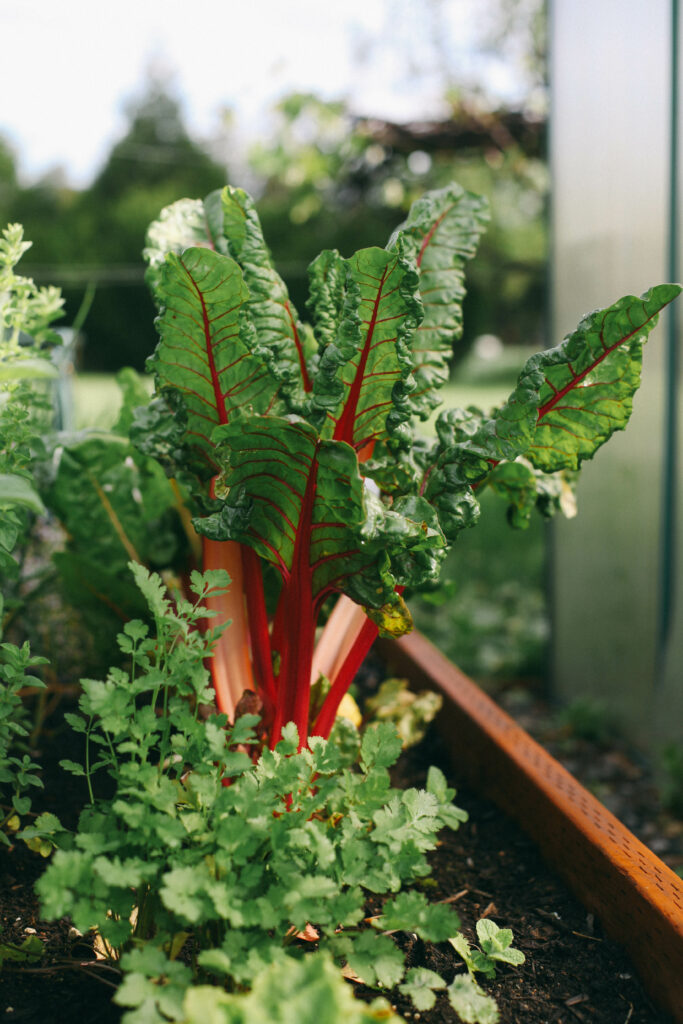
- Growing Conditions. My garden is situated on the Southeast corner of our yard (between the cottage and animal pasture). This is a great spot because 3/4 of the beds receive full sun most of the day. However, the West side of the garden does have shade in the afternoon, so I factor that in when choosing crops and planning where they’ll go. Things like peas, parsley, cilantro and lettuces do really well in the shadier spots. Tomatoes….do not. Don’t ask me how I know.
In addition to some shade, our garden has a slight slope from the North end to the South. Crops that like more water will do much better in the beds on the South end, and crops who enjoy more dry heat will thrive on the North side. These are all things you’ll want to take into consideration when planning in your space.
Some areas of the garden are too windy, don’t have great soil or are in danger of being trampled by kids or animals. You’ll want to factor all of these things into your plans. - Companion planting. Companion planting is something I learned about over 10 years ago when I discovered Alys Fowler on YouTube. Her book, The Edible Garden, details how to plant different varieties of veggies, herbs, fruits and flowers in harmony to encourage healthy growth and eliminate pest pressure.
It blew my mind to learn that you could prevent so many common garden problems, simply by the way you arrange your plants. Who knew!?
What about crop rotation?
Crop rotation is choosing to plant your crops in different locations each year, reducing the stripping of certain nutrients from your soil, discouraging pests and disease, and keeping weeds under control.
And this is why you P L A N your garden spaces! And keep track of your past garden plans! Keeping track of these things from year to year helps you immensely as you make sure you’ve rotated crops properly. I am not militant by any means, I just try to follow the general principles of:
- Grouping crops into families. Brassicas, Legumes, Onions, Potatoes, Roots.
- Rotating crops on a four-year cycle. Not only do I try not to put the same thing in the same spot two years in a row, I try to keep a certain order to where things go. Preferably I’d plant a bed like this:
Year One- Legumes
Year Two- Brassicas
Year Three- Potatoes
Year Four- Onions/Roots
How do you mix flowers and food?
As I mentioned earlier, mixing flowers and food, or several different types of fruits, veggies, flowers and herbs for the benefit of the plants is called companion planting. And this is where I wish I had my copy of The Edible Garden in front of me, as it was the BEST resource for combining plants, but I let a friend borrow it long ago and it never made its way home.
So here’s a few combinations I’ve tried and had great success with in the past:
- Tomatoes + Basil. Doesn’t this just make you want to smack your head and say “DUH!” Of course tomatoes and basil are a great combination on the table, so it just makes sense that they would be in the garden as well. Basil’s strong smell and flavor helps repel pests from the nearby tomatoes, resulting in healthier and more bountiful fruits. I do this religiously EVERY year.
- Marigolds. Marigolds are an insanely versatile companion plant. A quick Google search will show you over 25 plants that love to be alongside this flower. And before you roll your eyes at Marigolds- those cheesy little bright orange poms from the hardware store- let me introduce you to the HEIRLOOM MARIGOLD. There is nothing more beautiful than an antique white heirloom marigold at each end of a bed. I used to do this at our old house and it’s on my list to do again this year.
- Roots and Onions. Ever painstakingly planted tiny carrot, radish, beet or turnip seeds, only to pull up the long anticipated roots and find them eaten half to death? It’s the WORST! Wanna know the solution? Interplanting your roots with members of the onion family.
Many years I will line my carrot beds with chives, or stick my radishes in the middle of the onion rows. The strong smell and taste of the onion family is a major deterrent to the flies and larvae who like to feast on root veggies.
Sketch out your garden plan
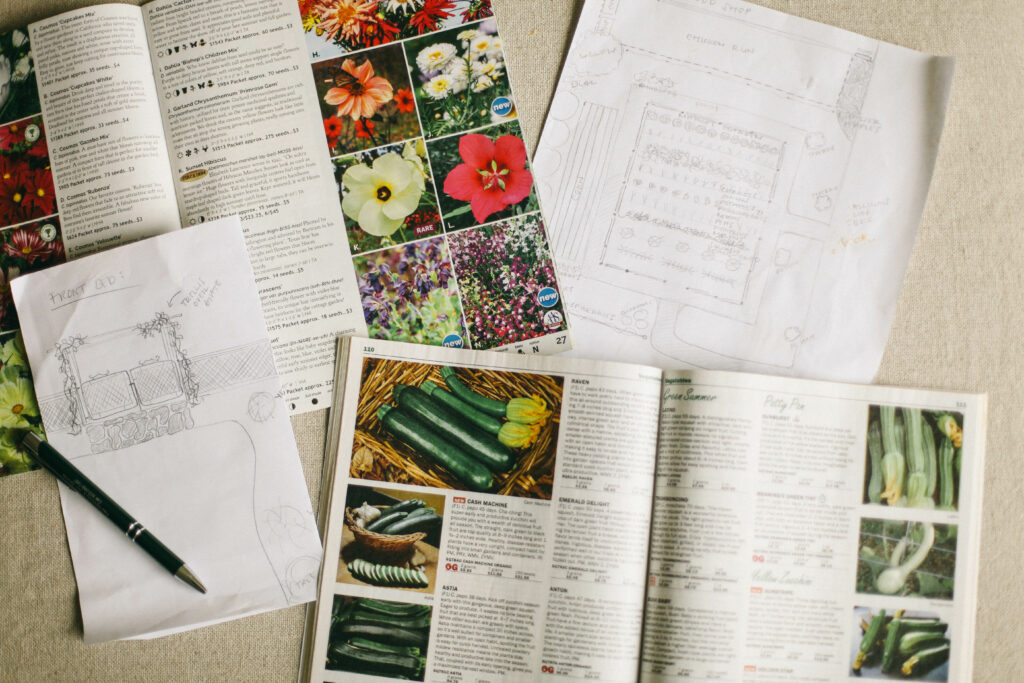
This may seem archaic in the day-and-age of all things digital, and while I know there are many amazing online garden planners our there, I’m just a pen and paper kind of girl. Every year I grab some graph paper, my ruler and a fresh fine-tipped sharpie, and sketch out those beds just like I’ve always done.
I know some people measure out how much growing space each plant needs. Down to the very inch. And this is very impressive, to say the least. But honestly, after over a decade of gardening, I have a fair idea how much room things need. I just don’t take the time to measure. I’m also a bit of a rebel and don’t follow the back of the seed packet when it comes to how close to interplant. I want my space to look bountiful. I want big, full, billowy beds of flowers and veggies. Don’t tell me what to do seed packet! I cannot be tamed!
Make a vision board
I know, I know. Vision boards are somewhere in the same camp as “Chicken Soup for the Soul,” books these days. CLICHE to the max. But guess what, cliches are cliche for a reason. They are often true. Making a vision board gives you a visual guide for your garden that is hard to achieve any other way. PLUS, they’re just plain fun to make. There, I said it. Put on some Celine Dion and make yo self a baller vision board.
Especially in a setup like mine- a Potager, which is put together just as much for beauty as it is production- a vision board gives you the opportunity to see how all the different varieties you have selected will look all planted together. This isn’t just for flowers! It works just as well for veggies and fruits.
I want my garden to be great. I want to eat and preserve the things I grow. But I also want it to LOOK GOOD, darnit!
Here’s how you make a garden vision board:
- Gather seed catalogs. If you are anything like me, you start stockpiling seed catalogs as soon as they begin arriving, sometime in the fall. Gather them up into a big stack, grab your favorite pair of scissors and a big fat gluestick.
- Cut out photos of the fruits, veggies and flowers you want to grow for the year.
- Grab a cheap poster board. A cheap white poster board is the perfect place to sketch out your garden or garden beds, leaving enough space to paste the cut outs from the seed catalogs. Once you’re happy with the layout, paste all the cut outs in the places you will actually plant them in your garden. This helps you know exactly what things will look like come Summer. This also helps you SURVIVE the Winter months.
- Capture the vision! Can you see it? What do you think? Does your garden give you all the warm fuzzies you are hoping for come summer’s end!? Tack that beautiful vision board up somewhere you see it often and let it carry you through til planting time.
Best tools for garden planning:
Planning your garden doesn’t require anything particularly special or fancy, but here’s a few things that can make the process a little smoother:
- Graph paper. I’m not a person who can just sketch things out in a straight line, so graph paper is immensely helpful for me. I’ve also made an outline on the computer before, but I’ve found I like graph paper better.
- Fine-tipped Black Sharpie. For outlining your beds and labeling your crops. Don’t forget to color the fruits and veggies for extra credit points!
- White poster board. For that perfect 90’s vision board. Don’t underestimate it, it can be so helpful, encouraging and inspiring! Unless you want 100 of these, your local grocery or craft store is your best bet.
- Seed catalogs. My favorite places to source seed catalogs are Territorial Seeds, Botanical Interests, Baker Creek and Johnny’s Select Seeds. I know there are heaps of others out there, if you know of some I NEED to have, leave that in the comments below!
Share your garden plans!
Do you know what I love even more than talking about the plan for my garden? Talking about YOURS! Leave a comment below and tell me what you are planning to grow, how you layout your garden space and what you’re doing to prepare for the growing season ahead.
And don’t forget to pin the image below so other people can find all these tips for garden layout and design. Happy garden planning!

Kali
About Me
Hi! I’m Kali. Oregon mama, farmer’s wife and creator of the Potager book and blog. Join me and as we cook and garden the seasons!





Comments (2)
Planting a beautiful garden on a tight budget – Potager Online
January 27, 2024 at 12:34 am
[…] I talked about in the Garden Planning post last week, there have been many years where I’ve simply flown by the seat of my pants when it […]
Plant your garden: there’s no wrong way! – Potager Online
April 25, 2024 at 5:51 am
[…] gardeners out there, but for anybody relative new to the “sport,” it’s nice to be reminded of the different options. Once you’ve figured out where to find seeds, source starts, and get started indoors, etc., […]